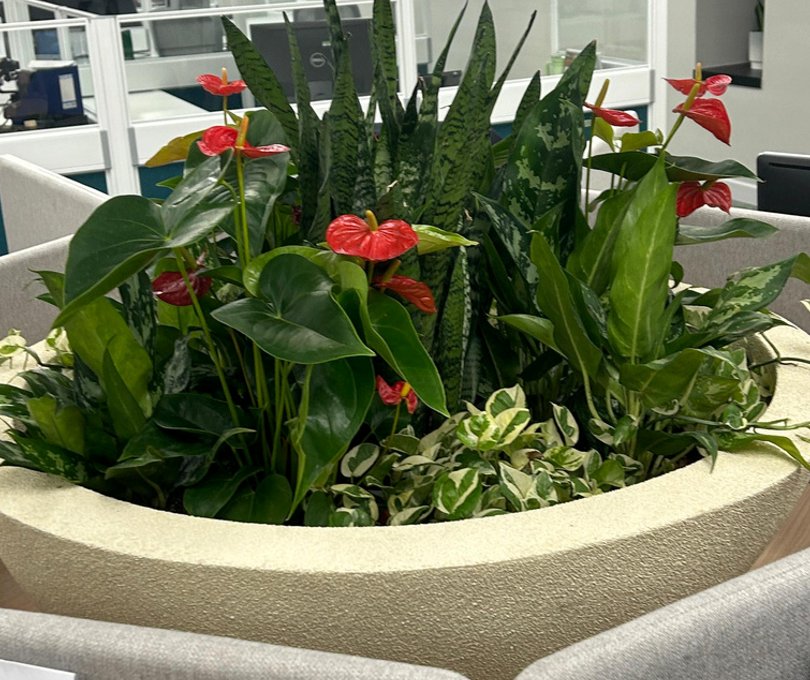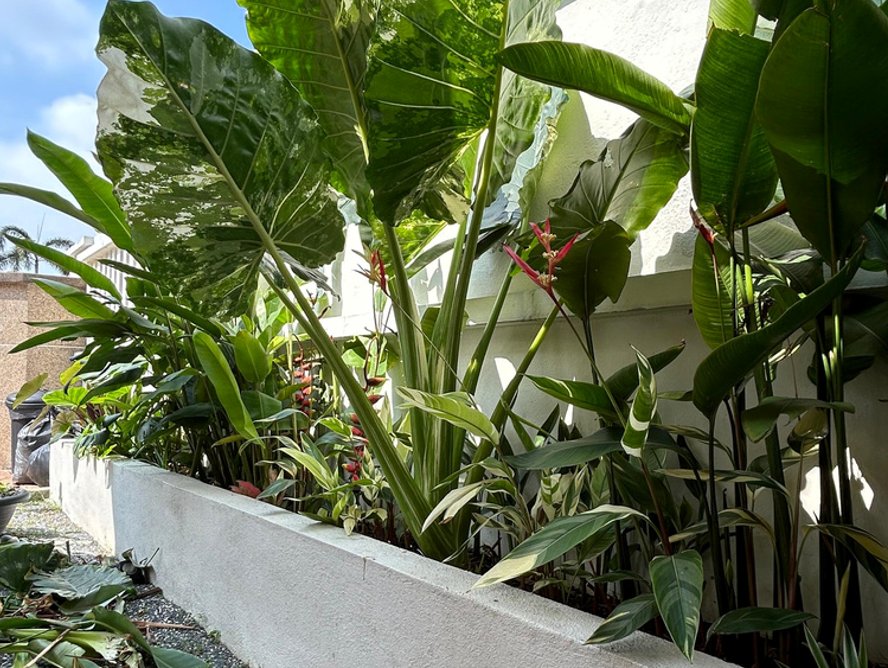
You moved in, the turf was green, and within a year half the plants were yellow or gone. It is probably not your watering, and it is rarely the plants. It is what is under them.
What the land went through before you got it
Most new housing estates in the Klang Valley sit on cut-and-fill. A slope is cut away, the low side is filled with what was cut, and the whole platform is rolled flat and hard so that houses and roads do not settle. That is good engineering for a house. It is a poor start for a root.
The topsoil went in the first week of earthworks, and nearly all the life in the ground went with it. What remains is subsoil. Around here that usually means heavy yellow or orange clay, or red laterite with hard, gravelly lumps in it. Lorries and excavators then drove over it until the houses were finished.
What the builders left behind
While the house goes up, the garden strip is where things get mixed, rinsed and dumped. Dig along the side or back of a new house and we nearly always find broken brick and tile, lumps of mortar, pockets of sand and the odd cement bag.
The part you cannot see is the cement wash. The grey water from rinsing mixers and tools is tipped on to the ground, and it sets into a pale crust a few centimetres down. Cement is full of lime, and lime pushes the soil pH up. Most garden plants here prefer their soil slightly acid. Ixora and gardenia show it first. The new leaves come out yellow with green veins, because in alkaline soil the plant cannot take up iron, however much fertiliser you give it. If the only sick ixoras in your garden are the ones along the wall, this is the likely reason.
Over all of this goes a few inches of lorry topsoil. Nobody can tell you where it came from. Often it is more subsoil in a darker colour, with weed seed in it. Then carpet grass, then the keys.
The planting hole as a bucket
This is how most plants in these gardens die.
You buy a good shrub. You dig a hole in the clay, which is hard work, so the hole is only just big enough. You fill around the root ball with soft bagged soil. What you have made is a pot with no drainage hole.
The afternoon storm arrives. Water runs across the hard surface and finds the one soft spot in the garden. The hole fills. Its clay walls, often polished smooth by the cangkul, let the water out very slowly. Roots need air as much as they need water, and after a day or two under water they begin to die. A plant with dead roots cannot drink, so it wilts. Wilting looks like thirst, so it gets watered. We see this far more often than real drought.
The ten-minute test
You need a cangkul, a bucket of water and a stick or ruler. Pick a spot where plants have struggled. If there is a corner where things grow well, test there too and compare.
- Dig a hole about as wide as the blade and 30 cm deep. If the blade bounces, you have found your first answer.
- Look at the wall of the hole. How thick is the dark layer on top? Where does the colour change? Is there rubble, a band of sand, a grey crust? Smell a handful from the bottom. A sour or rotten-egg smell means the soil has been sitting without air.
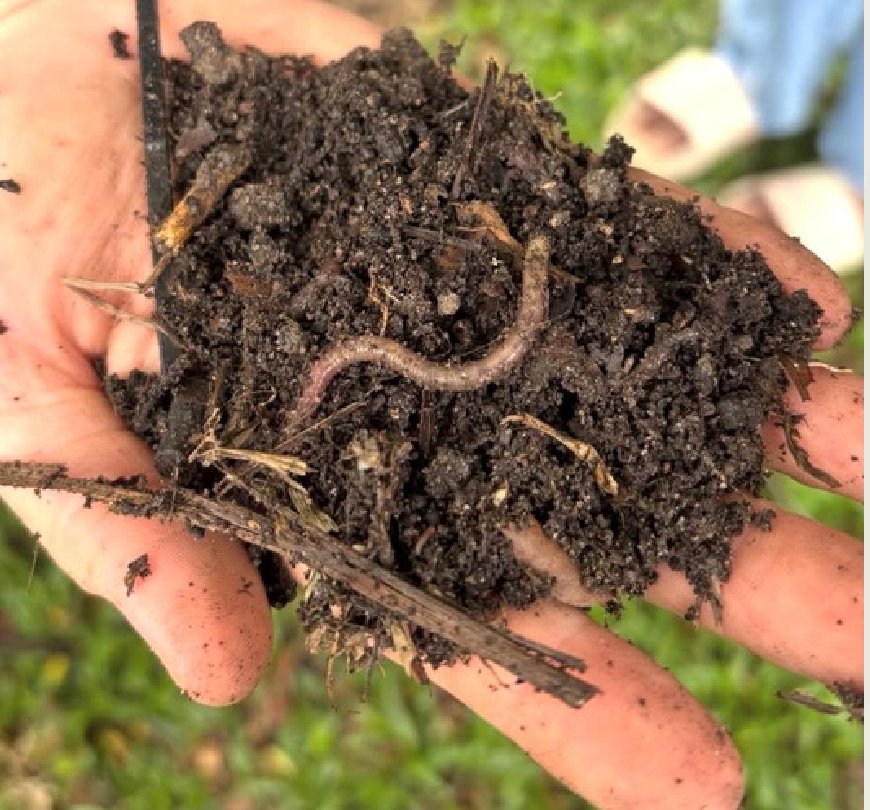
- Look for roots and worms. Grass roots that reach a certain depth and then turn sideways are showing you where the hard layer begins. No worms at all is information too.
- Fill the hole with water and let it drain away completely. This first fill wets the ground around the hole so the next one is a fair test.
- Fill it again. Stand the stick in it, mark the water level and note the time.
That is the ten minutes. The waiting you can do with a cup of tea.
If the second fill drops a few centimetres an hour and is gone the same day, drainage is not your main problem. Look at compaction near the surface, thin soil, or the wrong plant for the light. If there is still water in the hole the next morning, you have a bucket. Almost anything planted at that level will struggle.
Do the test in ordinary weather. After a week of storms the ground is already full and everything looks worse than it is. After a long dry spell the clay has cracked, water escapes down the cracks, and everything looks better than it is.
What to do about it
In this order. Each step is wasted if the one before it has been skipped.
1. Give the water somewhere to go
Stand at the window during a proper storm and watch. Water may be arriving from a roof downpipe, the car porch or a neighbour's higher lot. The ground should fall gently away from the house towards a drain. Where a low spot cannot be regraded, a subsoil drain does the job: a perforated pipe in a gravel trench, leading to the perimeter drain. It is muddy work and miserable to do once the garden is planted. Do it first.
2. Break the hard layer
Loosen the whole bed, not one hole at a time. Go down a full blade's depth or more with a cangkul or a garden fork, and take out the rubble as you meet it. If you find a cement crust, lift it and get rid of it. Work clay when it is moist, never when it is wet. Wet clay smears and seals, and you end up with something worse than you started with.
3. Put organic matter and life back
Spread several centimetres of mature compost over the loosened bed and fork it into the top 20 cm. Do not try to lighten clay with a few bags of sand. Unless the quantity is enormous, the two together set closer to brick than to soil. Organic matter is what opens clay up, because it feeds the fungi and worms that build crumbs and channels.
This is where worm compost earns its place. We use our own Vermi Compost around the root zone and as a top dressing.Where the existing topsoil is too thin or too doubtful to keep, bring in soil you can identify. That is the reason we bag Honest Garden Soil. You should know what you are planting into.

In our heat, organic matter burns away fast. Plan to top up every year.
4. Plant high
Where drainage cannot be fully fixed, lift the plants above the problem. Build raised beds, or broad mounds 20 to 30 cm high, and blend the new soil into the loosened ground beneath so there is no sharp boundary for water to sit on. Dig planting holes wide and shallow, and set the top of the root ball slightly above the surrounding soil. Backfill with the soil you dug out, improved with compost, and not with pure rich mix. Roots then have a reason to leave the hole.
5. Mulch
Cover the finished bed with 5 to 8 cm of leaf litter, wood chips or coconut husk chips. Keep it a hand's width clear of stems and trunks. Mulch takes the force out of the rain, stops clay baking and cracking in a dry spell, and feeds the worms you have just invited back.
When to get someone in
If water stands in your test hole overnight, if every hole you dig turns up rubble, or if you are about to spend real money on a new garden, it is worth having the ground looked at first. On a consultation we walk the site, open the tanah, look at where the water goes, and tell you plainly what will grow there and what needs fixing before anything does.
Or dig the hole yourself and send us a photo of it on WhatsApp. A hole tells us a lot.